-
[Embulk] Embulk plugin 사용법 및 MySQL to PostgreSQL 패턴 만들기데이터 엔지니어링/Embulk 2022. 8. 21. 18:31반응형
Embulk란?
Embulk는 대용량을 이관하는 데이터 이관 툴이다. Embulk를 사용하기 무척이나 쉬워서 사용법만 간단히 알아보면 좋을 것같다. Embulk는 이관을 할때 플러그 인 단위로 붙여서 이관을 하게 된다.
Embulk plugin이란?
이번에 할 것은 MySQL to PostgreSQL로 데이터를 이관하는 것을 할 것인데 아래와 같은 그림으로 설명 할 수 있다. Embulk서버에 Source라는Plugin을 다운로드하여야 하고 이관해줄 목적지인 Sink라는plugin을 다운로드하여야 한다.

puglin의 종류는 아래의 홈페이지에서 확인 가능하다.
List of Embulk Plugins by Category
List of Plugins by Category This list is no longer automatically updated. Pull Requests are welcome directly to this site if you have updates! INPUT Star Name Author About mysql $ embulk gem install embulk-input-mysql Sadayuki Furuhashi Selects records fro
plugins.embulk.org
Embulk input output 및 플러그인 찾는 법
Plugin을 다운받았으면 작성해야 하는 속성이 있는데 이것을 github을 보면 잘 설명이 나와있다. embulk는 source를 input이라고 한다. source에서 embulk로 input 한다고 하는 의미 같다. source to embulk는 input을 기억하고 embulk에서 sink으로 보내는 게 output이다. embulk to sink는 output이라고 생각하면 된다. embulk는 java로 되어있기 때문에 jdbc를 지원하므로 mysql에 접근하여 데이터를 뽑아오거나 넣기를 할 때 jdbc를 사용하면 된다.

readme에 자세히 나와있으니 읽어면 될 것 같고 mysql 링크를 타고 들어가면

input에 적어야할 양식 같은 게 나온다 configuration은 속성이니 required는 꼭 서야 하는 것이다. 이걸 보고 yaml파일을 작성하면 된다.


작성하는 법도 나와있으니 자세히 읽어보자
github에 들어가서 자신이 원하는 종류의 플러그인을 원한다면 홈페이지에서 지원하는 플러그인을 확인 후에 embulk깃헙에 들어가 사용법을 익히고 사용 하면 된다.
Embulk
Embulk has 61 repositories available. Follow their code on GitHub.
github.com
Embulk 플러그인 사용법
이전시간에 embulk 기본적인 다운로드하는 법 사용하는 법에 대해 알아보았는데 이번에는 plugin 기본 명령어 와 plugin을 직접 다운받아 보고 사용해 보겠다.
# 필요한 플러그인은 [plug-in] 부분에 넣어서 설치를 합니다
embulk gem install [plug-in]

# 설치할 수 있는 플러그-인 리스트를 확인합니다
embulk gem list
Embulk 플러그인 다운로드
mysql으로부터 postgre로 이관을 할 것이니 input, output jdbc 다운로드
# input mysql 다운로드
embulk gem install embulk-input-mysql
# output postgresql 다운로드
embulk gem install embulk-output-postgresql
Mysql 서버 설정 및 데이터 만들기
# 방화벽 없애기
systemctl stop firewalld

# mysql 서버
mysql -u root -p
mysql> GRANT ALL PRIVILEGES ON *.* TO 'root'@'%';
mysql> flush privileges;
mysql> create table user(
mysql>	id int(11) not null auto_increment,
mysql>	name varchar(20) not null,
mysql>	customerType varchar(20) not null,
mysql>	discountRatio float(20) not null,
mysql>	constraint id primary key (id)
mysql>);
mysql>insert into user(name, customerType, discountRatio) values("sujan", "bronze" , "1.0");
mysql>insert into user(name, customerType, discountRatio) values("james", "silver" , "0.9");
mysql>insert into user(name, customerType, discountRatio) values("tom", "platinum" , "0.8");
mysql>selecT* from user;
mysql>commit;
번외 - embulk 실행 할때 mysql 오류 처리
embulk run 실행 시 sha2와 timezone오류가 나면 아래 같은 방법으로 해결해 보자.
# mysql embulk에서 유저 sha2 접속 오류 발생 시 mysql_native_password로 변경
mysql> alter user 'root'@'%' identified with mysql_native_password by '비밀번호';

# embulk에서 timezone에서 시
mysql>set global time_zone='+9:00';
mysql>set time_zone='+9:00';
PostgreSQL 서버 설정 - 유저 비밀번호 변경
postgresql은 초기 비밀번호가 있으니 관리하는데 문제가 되어 비밀 번호를 바꿔주어 사용해보자
# postgre 서버에서
# 방화벽 없애기
systemctl stop firewalld

su postgres
bash-4.2$ psql
postgres=# alter user postgres with password '비밀번호';
PostgreSQL 서버 설정 - 외부 호스트 설정
conf 파일에도 모든 호스트 허용
# postgresql.conf 파일 수정
vim /var/lib/psql/data/pg_hba.conf

# 아래 내용으로 교체
local all all md5
host all all 0.0.0.0/0 md5
host all all ::1/128 md5
PostgreSQL 서버 설정 - Listener수정
모든 ip주소 허용
vim /var/lib/pgsql/data/postgresql.conf

# listener 수정
# listen_addresses='localhost'
listen_addresses='*'
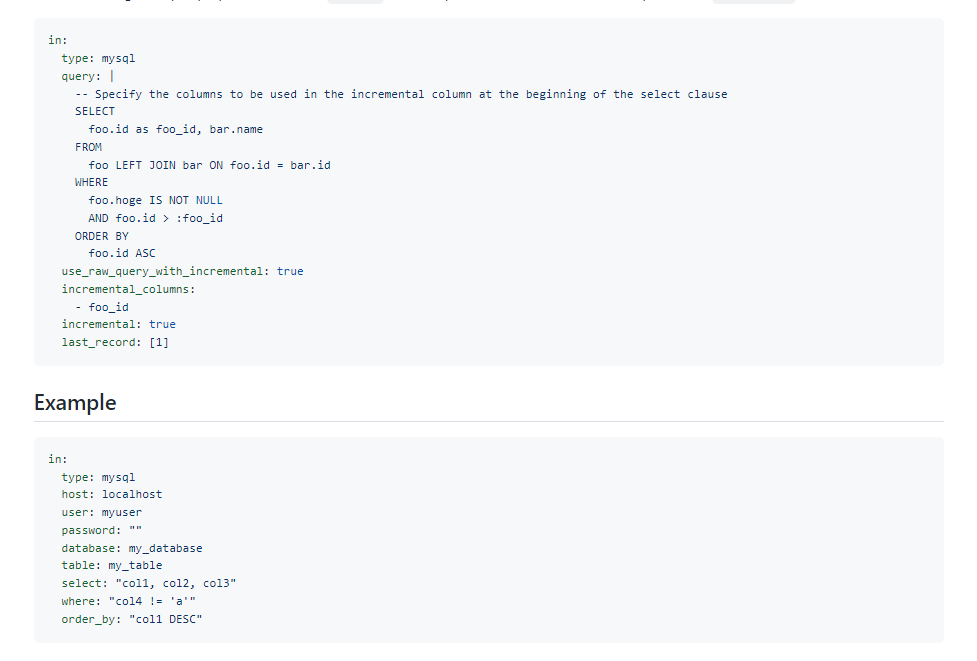
yaml파일 작성하기
embulk 서버로 돌아와서 yaml파일을 작성하면 된다. in과 out으로 input,output을 설정 할 수 있다. 이 내용은 앞서 말한 github에 자세히 속성값예시가 나와있으니 잘 알아보고 쓰자.
# embulk 서버에서
touch mysqlToPostgre.yml
vim ./mysqlToPostgre.yml

in:
  type: mysql
  host: 192.168.0.109
  user: root
  password: "비밀번호"
  database: testDB
  query: |
        select name, customerType, discountRatio
        from user
out:
  type: postgresql
  host: 192.168.0.110
  user: postgres
  password: "비밀번호"
  database: touser
  table: sinkuser
  mode: insert
보낼 데이터 미리 보기
preview 옵션으로 yml파일에서 보낼 데이터를 조회해 볼 수 있다.
# embulk 서버에서
# 데이터 먼저 봐보기
embulk preview mysqlToPostgre.yml
데이터 보내보기
로그를 보면 아래와 같이 transaction이 일어난 것을 볼 수 있다.
# 데이터 보내기 yaml파일 실행
embulk run mysqlToPostgre.yml
데이터 확인하기
postgre서버에서 아래와같은 명령어를 쳐보면 데이터 이관 되었는지 확인이 가능하다.
# touser database 연결
postgres=# \c touser
# 테이블 확인하기
touser=# \dt
# 데이터 조회
touser=# selecT* from sinkuser;
반응형
반응형'데이터 엔지니어링 > Embulk' 카테고리의 다른 글
[Embulk] yml 파일 작성 형식 알아보기 Liquid template 이용하여 yml 파일안에서 변수 사용하기 (0) 2022.08.30 [Embulk] Embulk란? Embulk설치하고 기본 실행해보기 (0) 2022.08.18